01 / The brief
Build a brief you can use
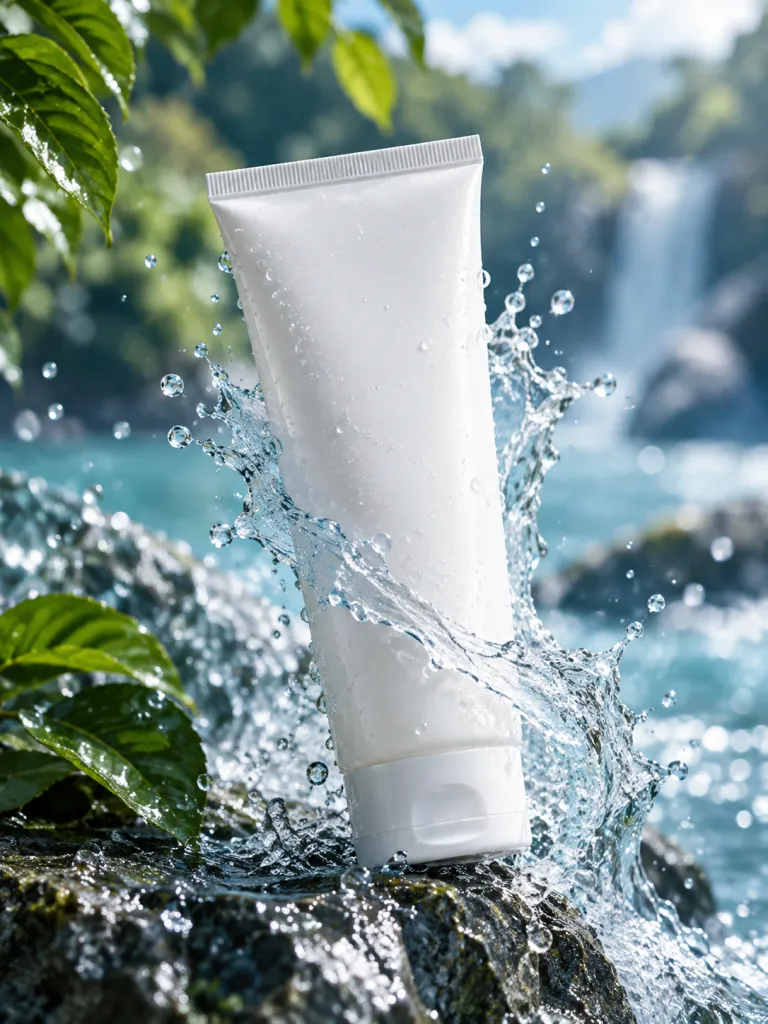
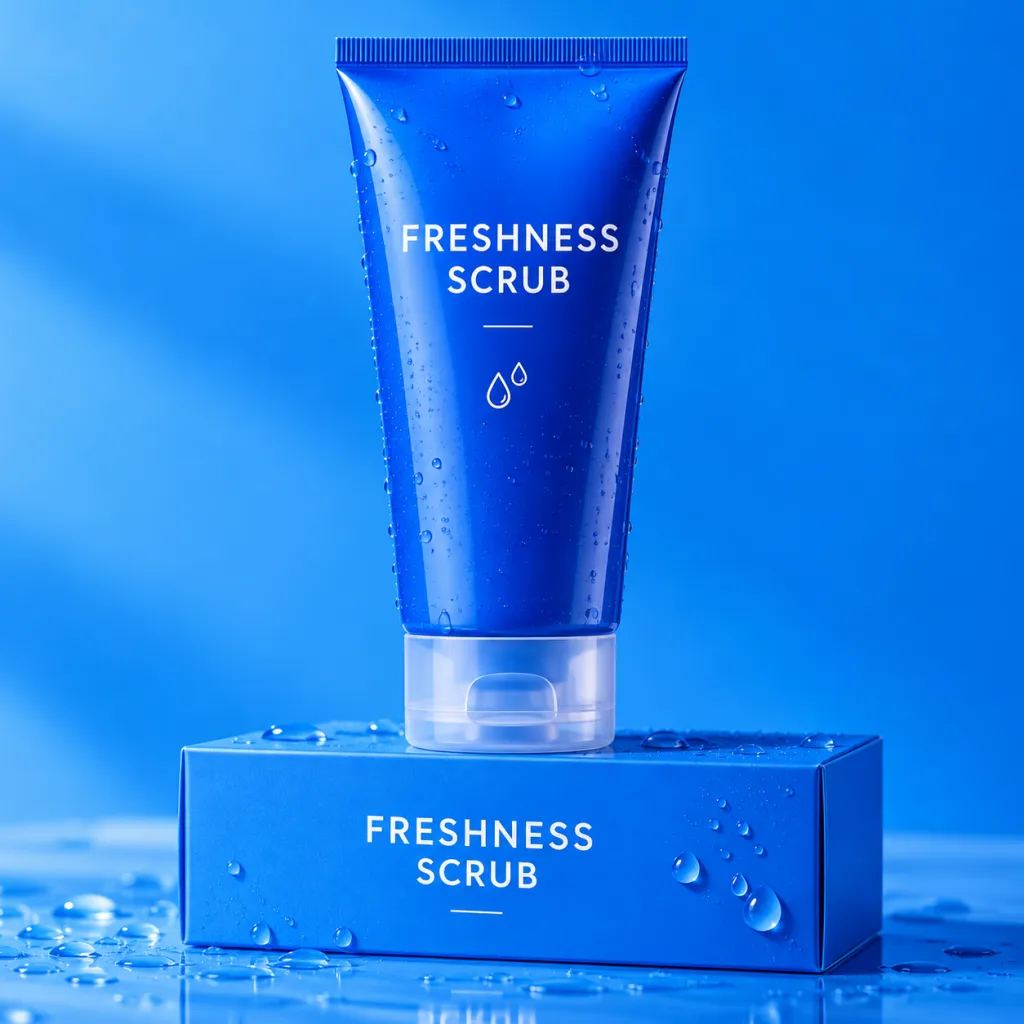
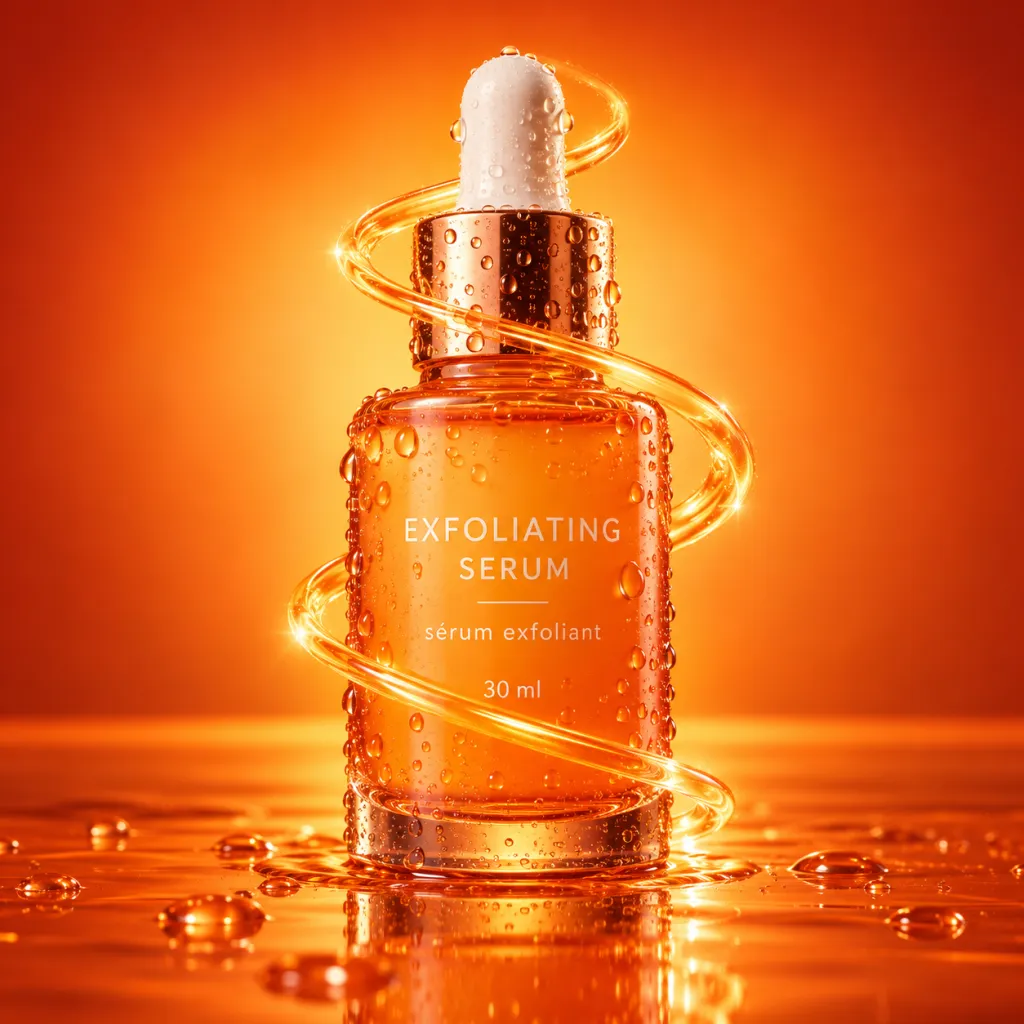
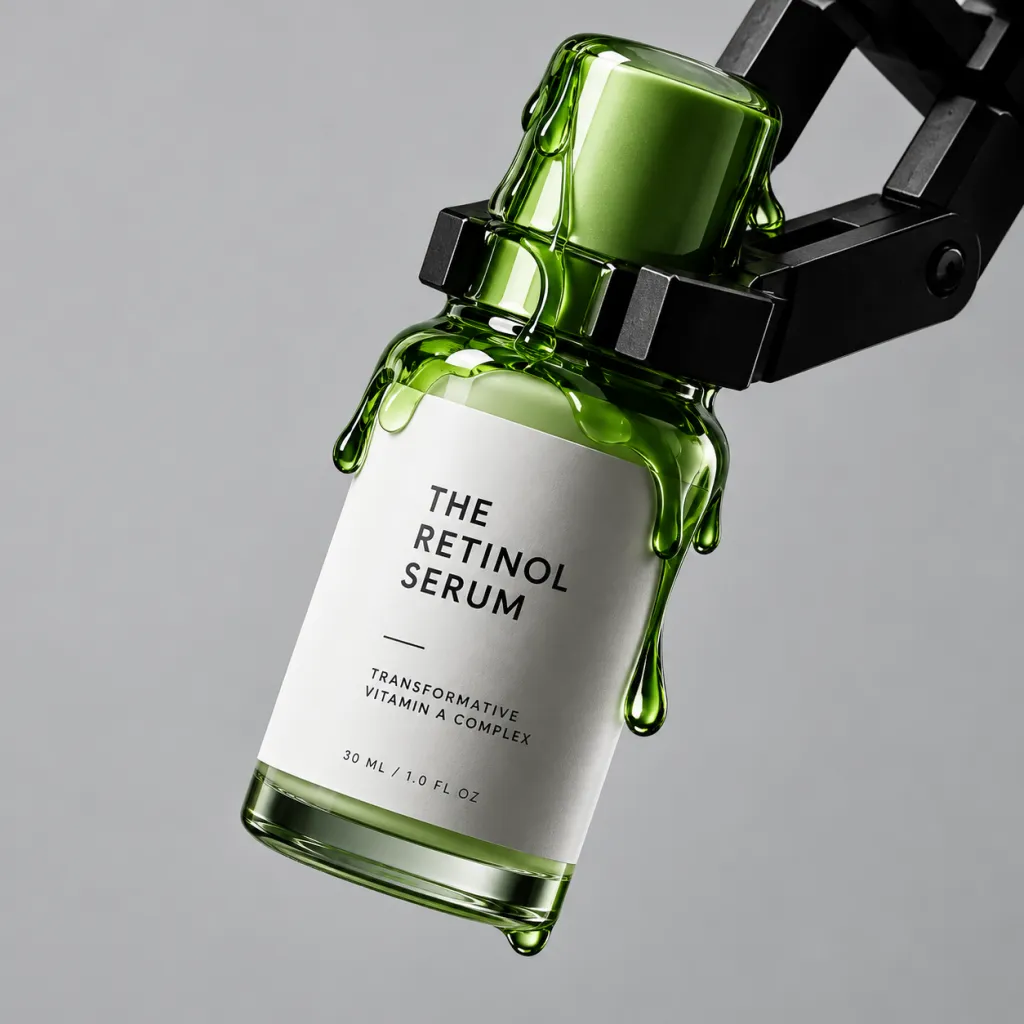
Use these 12 AI-generated examples to choose a lighting and composition direction. The starter brief below is an original text-only exercise for a fictional product; it did not produce the gallery images. For your own packaging, upload a reference image in FramePond and compare the result with the original photo. A product name alone cannot preserve an exact bottle, label or logo.
01Start with the placement
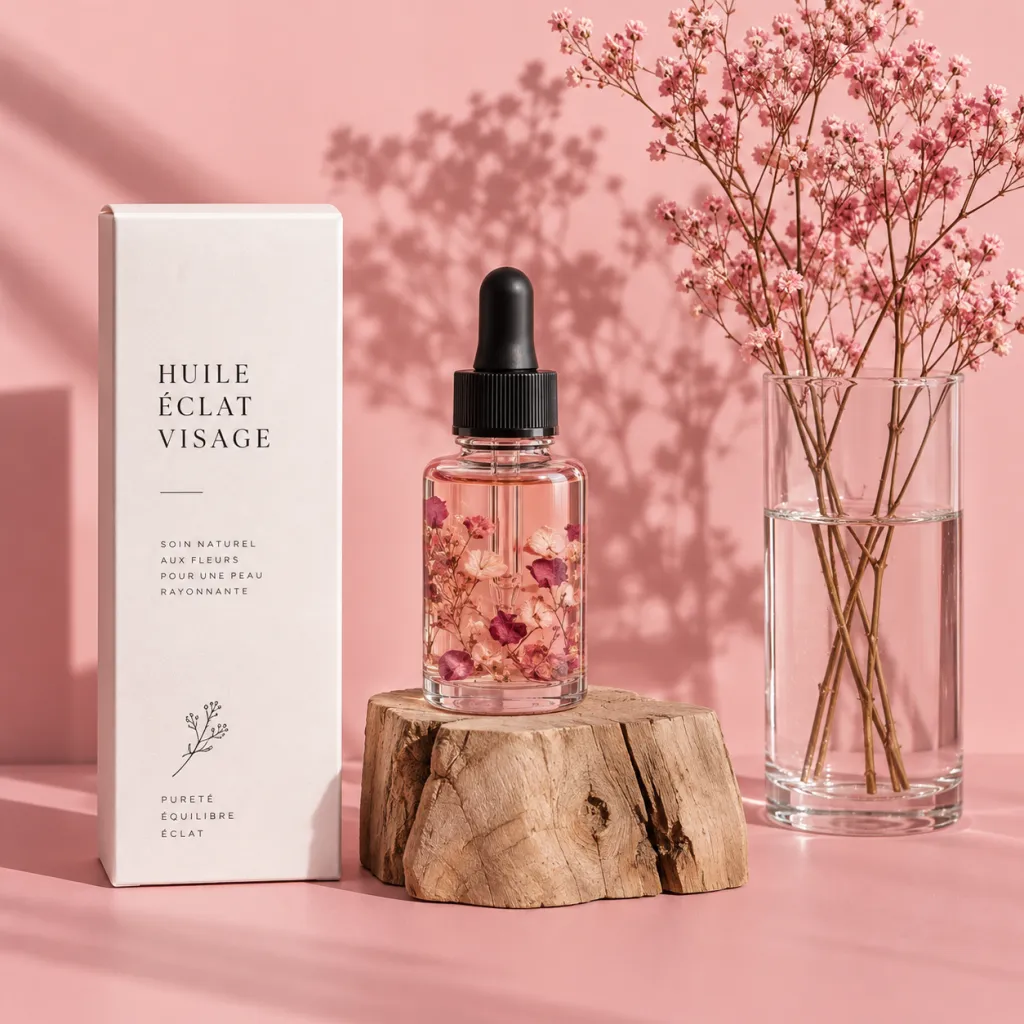
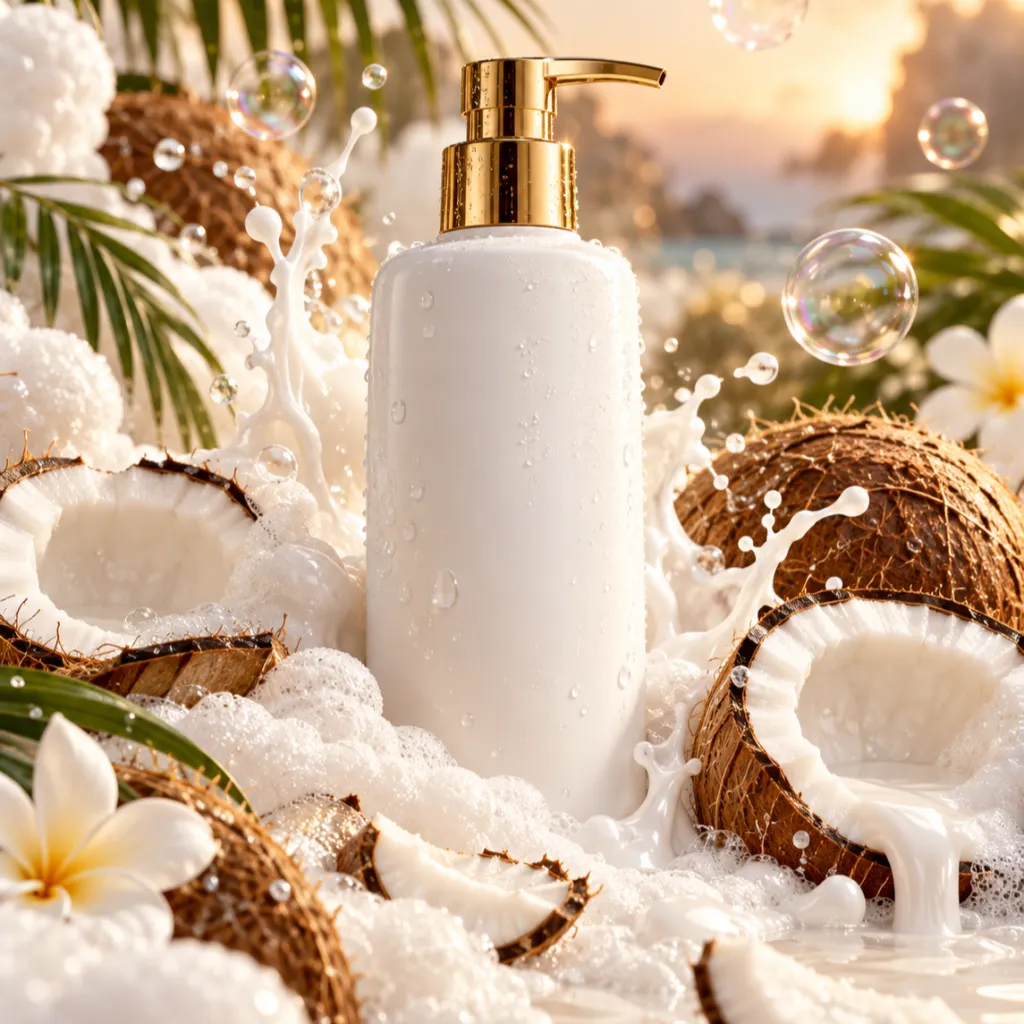
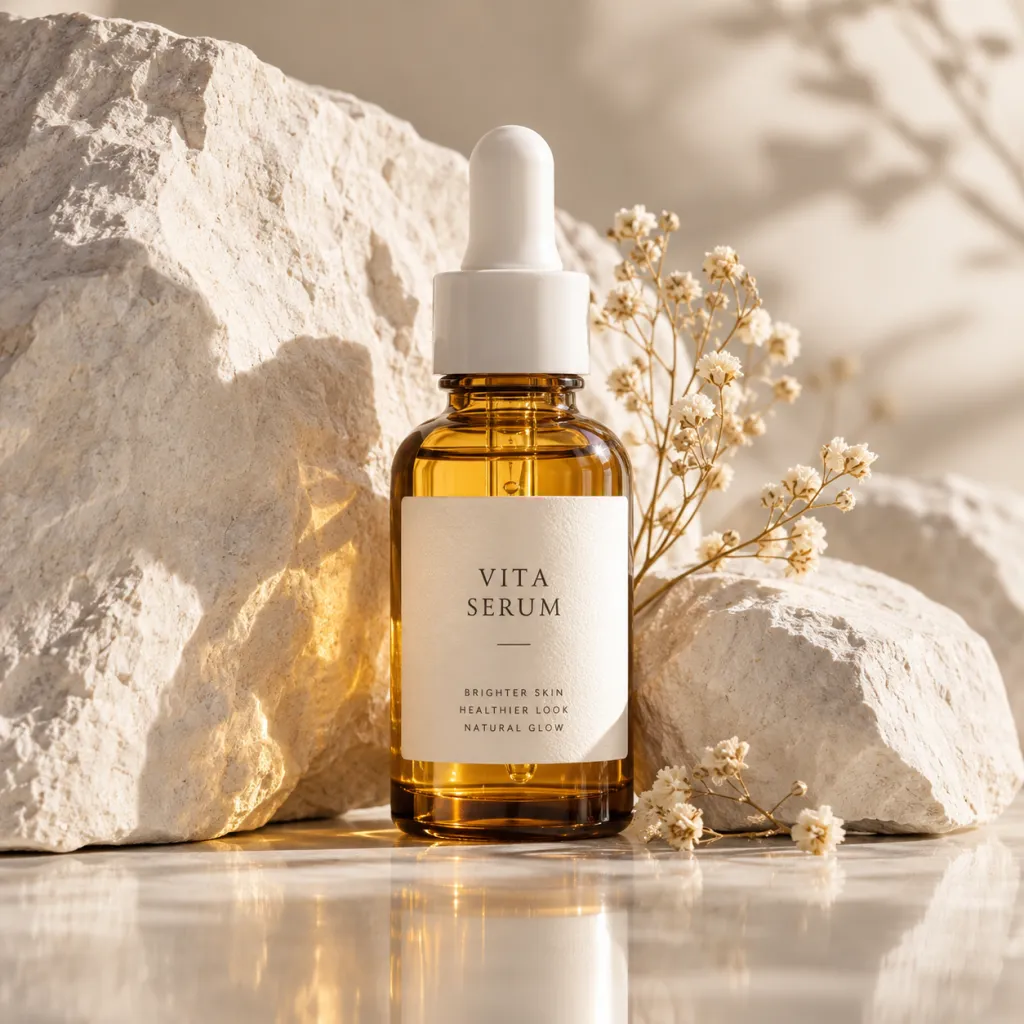
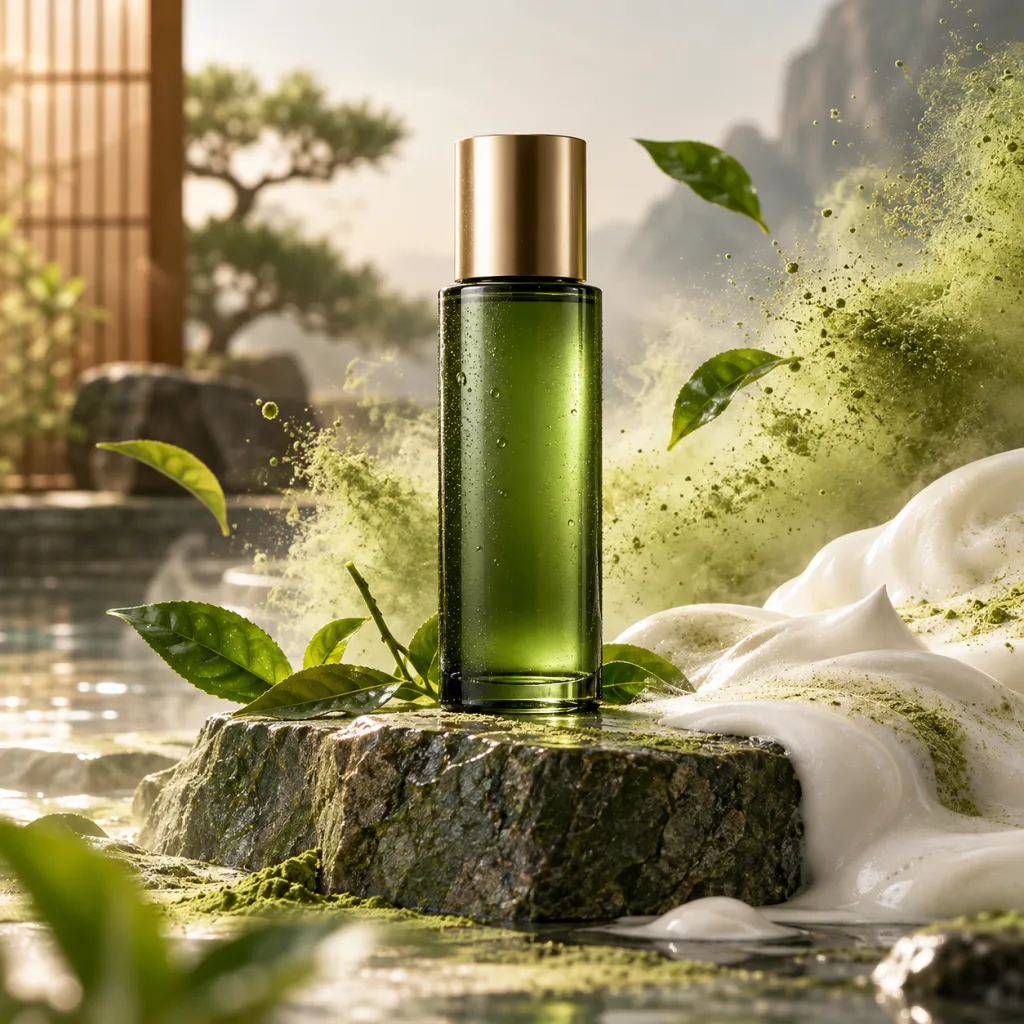
For a store listing, use a clean background, a complete bottle silhouette and a label facing the camera. For a campaign banner, decide which side needs room for your headline before adding props. Compare the quiet stone setup below with the liquid-ribbon scene: the first emphasizes the object, while the second emphasizes movement.
02Try a simple studio brief
Original starter: “Photograph a fictional amber skincare dropper bottle with a blank cream label on a matte ivory plinth. Front three-quarter view, soft window light from the left, a narrow highlight along the glass edge and a soft shadow to the right. Pale beige background, ample room above the bottle, no flowers or additional text.” Replace the material, surface and palette to fit your concept.
03Preserve real packaging separately
When the image must show an existing product, start with a clear product reference in a tool that accepts it. Ask to retain the cap, proportions and label placement while changing the setting. Compare the output against the original at full size. If the lettering changes, use your actual product cutout or label artwork in an editor rather than inventing a new brand mark.
04Make one controlled variation
Keep the brief and framing fixed, then change only the backdrop from pale stone to muted pink. Next, try a single dried stem placed behind the bottle, and compare label visibility, separation and usable headline space before choosing a direction.
05Repair glare and competing props
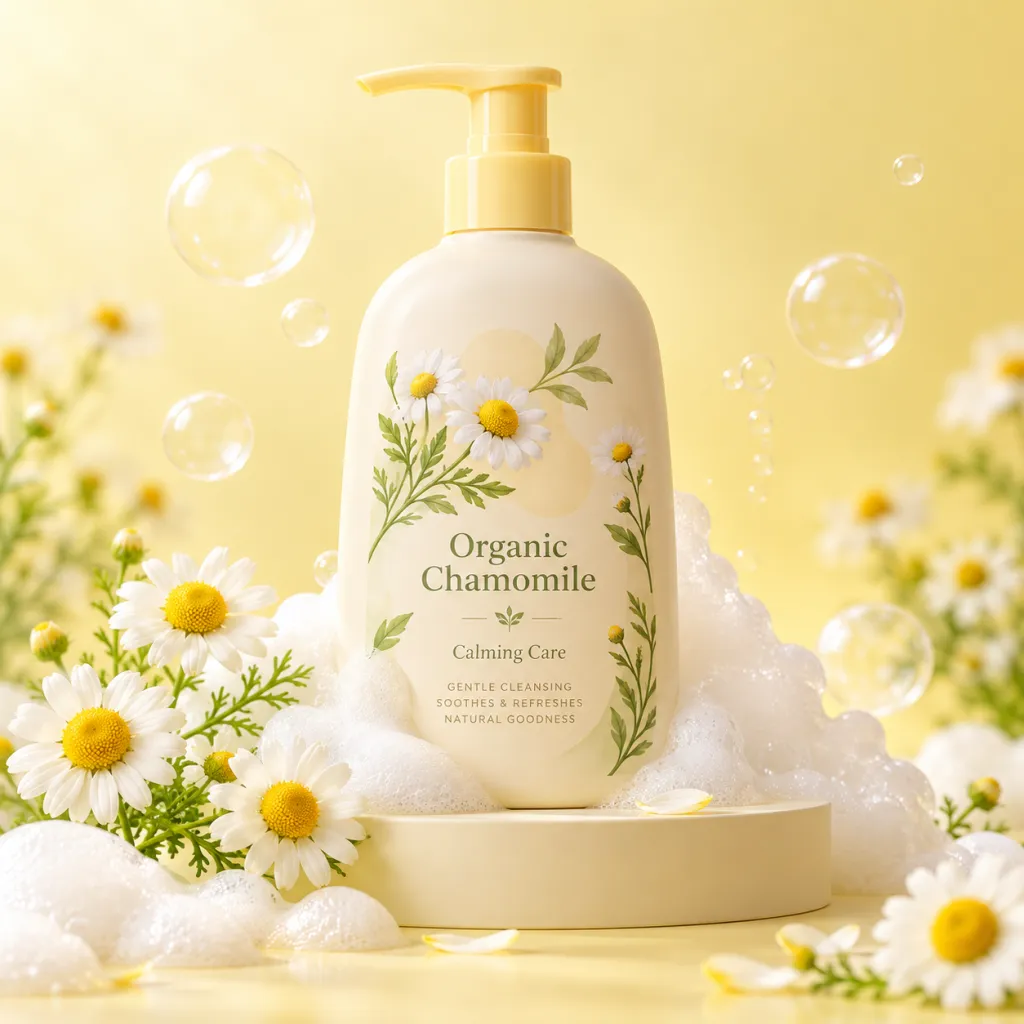
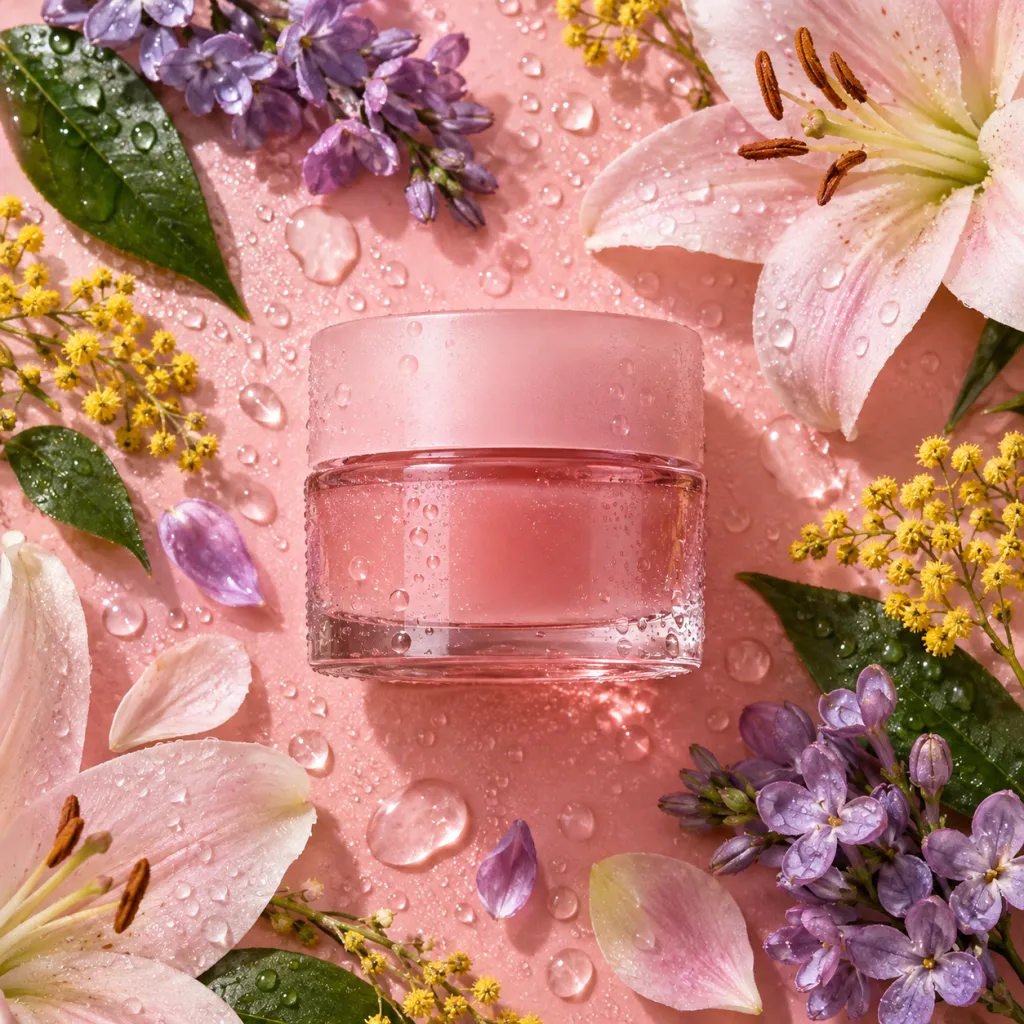
If a white reflection covers the label, move the main highlight toward an outer edge and ask for a broader, softer light. If a pale bottle disappears into the background, darken the backdrop slightly. If flowers or droplets dominate, remove them before adding more detail. Recheck the package silhouette after every edit.
06Build the final layout
Place the selected image in its intended product card or banner. Check that the entire cap fits, the label remains readable and the crop leaves room for copy. Add precise text and logos with your own artwork. Keep ingredient props relevant to the actual product, and retain a clean product-only version for uses that need straightforward identification.