The FramePond field guide · 10 examples

AI professional headshot prompts: 10 LinkedIn photo ideas

A LinkedIn profile photo needs a face you can recognize at a glance. A team page can show more of the shoulders, while a personal website may have room for a seated portrait and the workplace. These ten AI-generated examples help you choose the framing, light and level of formality before writing a professional headshot prompt.

Explore the examples
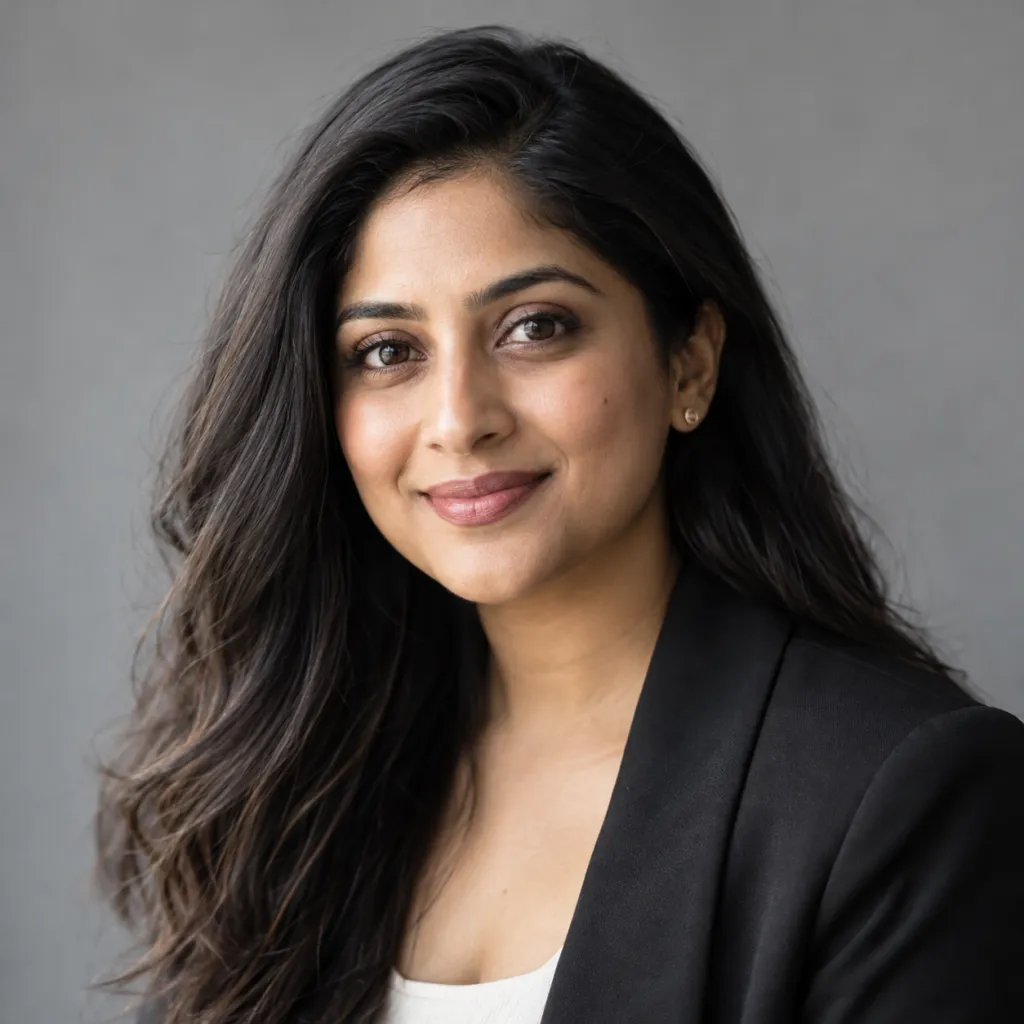
A woman with long dark hair wears a black blazer over a light top and smiles against a grey background.
AI-generated visual example · View prompt details

01 / The brief

Build a brief you can use

The people shown illustrate visual directions. For a photo of yourself, upload a recent, clear reference in FramePond and request that your facial features remain intact. Describing your appearance alone can create a different person. The original starter below is a brief for a reference-capable editor, not the prompt used to produce these examples.

01

Choose a crop for the actual placement

For a LinkedIn profile or another small avatar, start with a head-and-shoulders composition and leave space around the head for a circular crop. A team biography can use a wider chest-up portrait. Reserve seated or waist-up versions for layouts where the person will appear large enough to recognize.

02

Prepare a useful reference photo

Choose a recent photo with a clear view of your eyes, face and hairline. Avoid heavy filters, deep shadows across the face or glasses that obscure the eyes. Use your own photo or one you have permission to edit. A better reference gives you a clearer basis for checking the result, but it does not guarantee identity preservation.

03

Adapt this original starter brief

“Using my supplied reference photo, create a head-and-shoulders professional portrait. Preserve my facial proportions, age, hairline and skin texture. Soft window light from the left, neutral grey background, an open-collar navy jacket, relaxed expression and eyes toward the camera. Leave room above the head and around the shoulders for cropping.” Use it in a reference-capable editor and change the clothing to something you would actually wear.

04

Match formality to your work

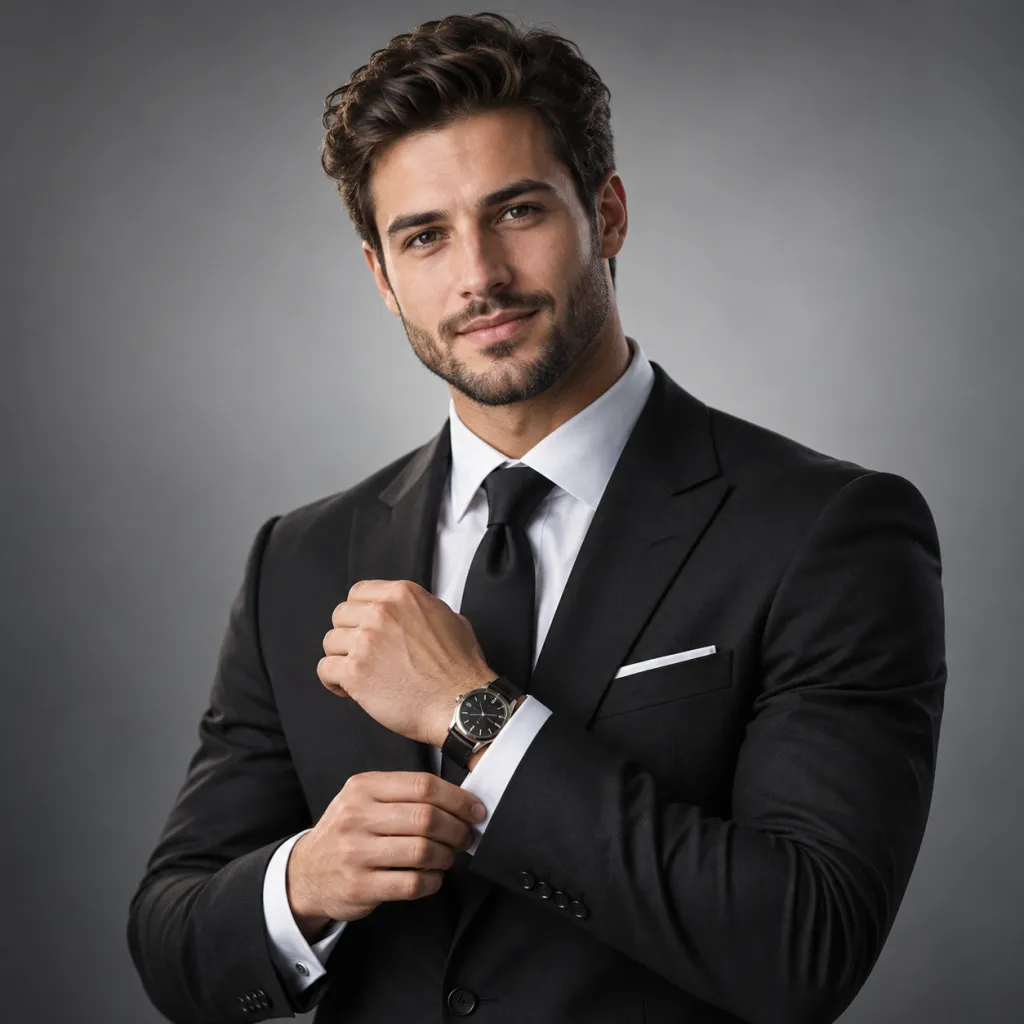
Compare the grey suit and tie with the navy jacket and crew-neck example below. Both keep the face prominent, but their clothing conveys a different degree of formality. Choose the outfit first, then a quiet background. For team portraits, use consistent framing and light direction while retaining each person’s individual features.

05

Correct one variable at a time

First compare facial shape, eye spacing, nose, jaw, hairline and apparent age with the reference. If those drift, return to the reference rather than polishing the wrong face. Once the likeness is acceptable, adjust only the background or clothing. Inspect collars, buttons, glasses and hair edges after each edit.

06

Preview the final profile crop

Place the result inside the actual square or circular avatar area and view it small. Keep the eyes clear and avoid cutting through the chin or top of the head. For a wider office portrait, check that the shelves and windows remain secondary. Save a full-size version as well as the crop you intend to use.

From the examples to your own image

Which example should I use for LinkedIn rather than an About page?

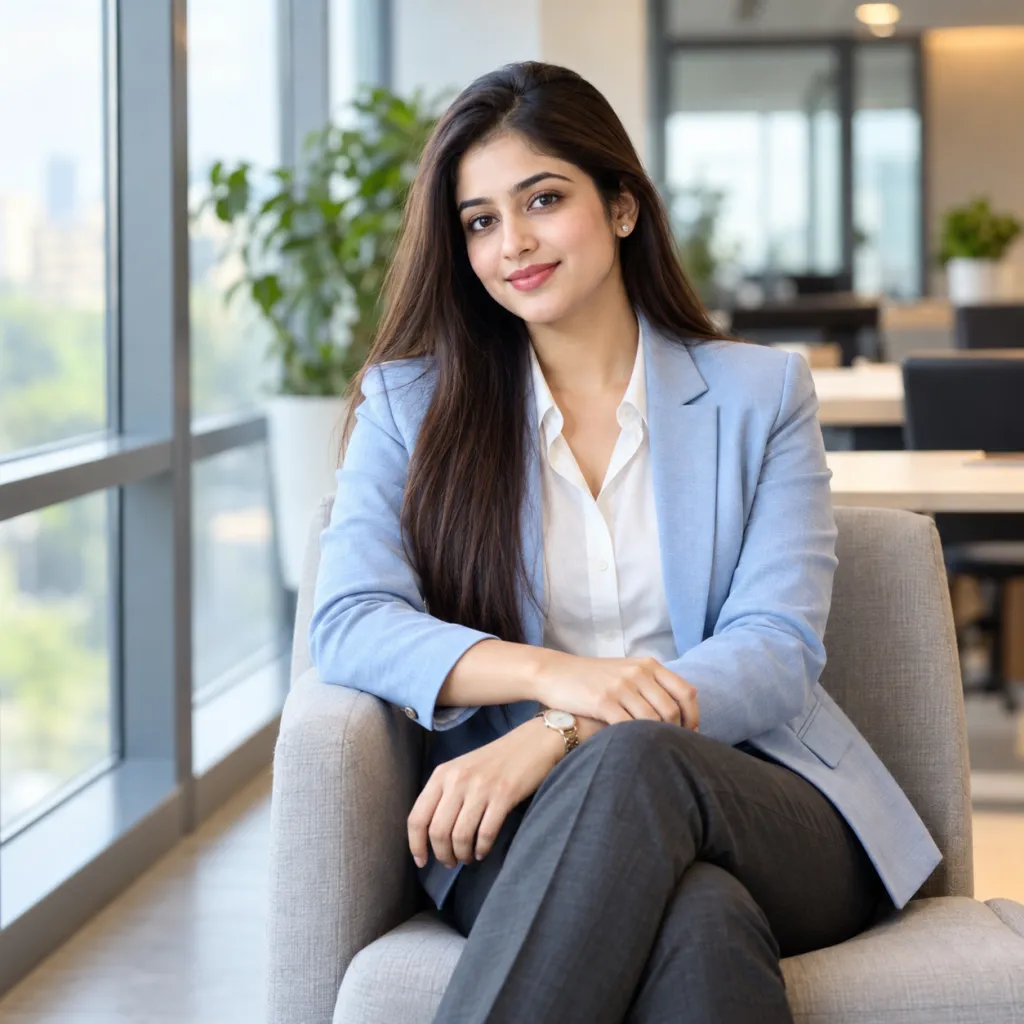
The grey-background headshot gives most of the frame to the face and shoulders. Start there for a small profile icon. The seated window portrait includes hands, a chair and crossed legs, which can help a larger biography image but leave less room for the face. Make a separate close composition for the avatar instead of enlarging a small face from a full seated portrait. Preview both a square and a circular crop before selecting the final version.

A relaxed grey-background headshot A seated portrait by a window

How do I choose formal or casual clothing without changing my face?

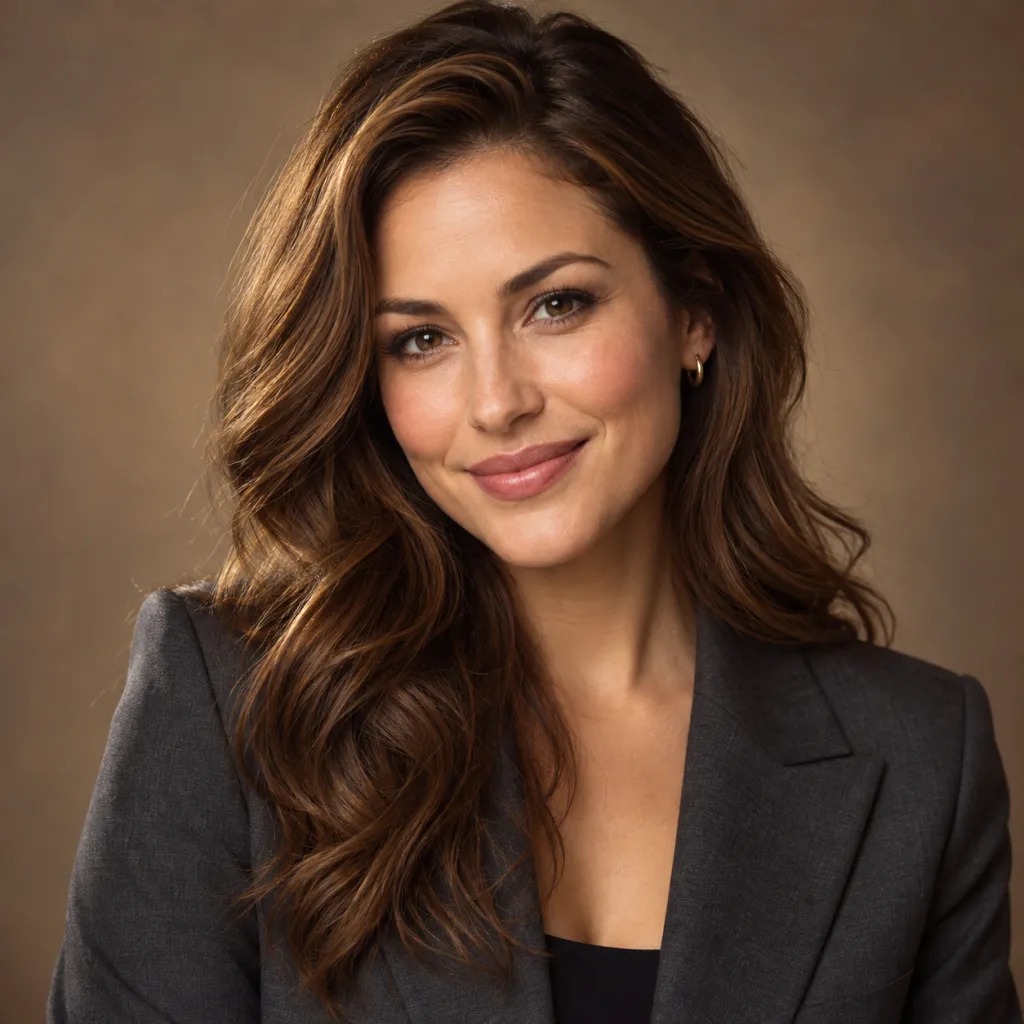
Compare the grey suit and tie with the navy blazer over a crew-neck: the clothing and setting change the formality while both keep the face prominent. For your own photo, keep the same reference image, crop and expression in a reference-capable editor and request only an outfit change, then verify that your facial features stayed consistent before judging the clothes.

A formal suit-and-tie portrait A blazer with a casual crew-neck

What should stay consistent across a team portrait set?

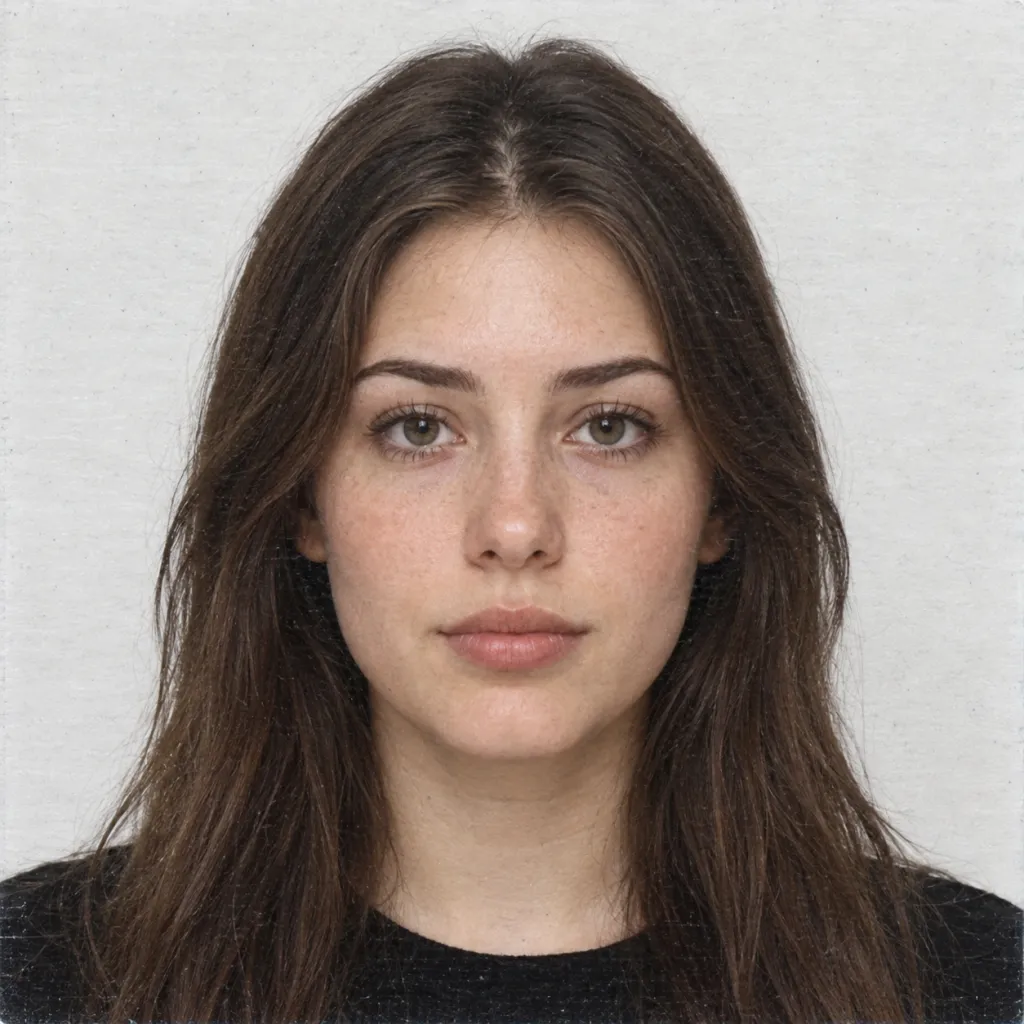
Write down the crop, eye level, light direction and background tone before editing anyone. Use each person’s own reference and retain their individual features, skin texture and clothing fit. The front-facing close-up provides a simple framing reference; the cuff-adjusting portrait adds hands and a watch that need more inspection and more display space. Do not mix those crops in one row of small team avatars. Place the finished portraits together at their actual size to spot mismatched head scale or lighting.

A natural front-facing close-up A waist-up portrait adjusting a cuff

03 / Before you publish

Give the result a final check

Compare the result with your recent photo before using it publicly. Keep natural skin texture and features that make you recognizable; a polished image is only useful as a professional headshot if it still represents you.

Inspect teeth, ears, glasses, jacket seams and any visible hands or watch. Use a simple head-and-shoulders crop when hand gestures add little to the intended placement.

These are profile and editorial portrait ideas. For a passport, visa or other official document, follow the issuing authority’s photo requirements rather than treating a generated portrait as compliant.

Generate your professional headshot

Write your own portrait brief or paste an unlocked studio prompt in the generator. Upload a recent reference photo to guide face shape, age, and natural features, then choose your attire and backdrop. Review eyes, collar seams, and hairline before downloading. Official ID photos must always meet issuing authority guidelines.

Create headshotConnect via Agent →Browse the full category →Compare Free and Pro

Report this prompt

Find reporting details on our contact page and include this prompt’s page address.